Do I need a strut compressor to fix my front strut mount on my driver side
Short answer, Yes. However there are options available. Myself I would replace the entire strut. You figure if part of the strut is worn that bad, the rest isn’t to far behind. Another reason I would just replace the whole strut is time involved along with convenience. You will need to remove the entire strut in order to swap out the mount. So might as well put the new one in its place and be done. No need to use a compressor and it takes less time. And for all the less effort you are rewarded with a great smooth ride from your new front struts.


SHOCK OR STRUT MOUNT R&R
FRONT
Removal
Caution: The spring is compressed when the strut moves freely.
- Remove strut from vehicle.
- Install strut (2) in strut spring compressor tool No. J-45400, or equivalent (1), Fig. 1.
- Turn spring compressor forcing screw (1) until coil spring (2) is compressed, Fig. 2.
- Hold strut shaft, using a T45 TORX® socket. Use strut rod nut socket tool No. J-42991, or equivalent to remove upper strut mount nut.
- Remove strut from strut spring compressor tool No. J-45400, or equivalent.
- Loosen compressor forcing screw (1) until upper strut mount and coil spring (2) may be removed, Fig. 2.
- Remove upper strut mount and coil spring from strut spring compressor tool No. J-45400, or equivalent.
Installation - Install coil spring and upper strut mount to strut spring compressor tool No. J-45400, or equivalent.
- Turn spring compressor forcing screw (1) until coil spring is compressed, Fig. 2.
- Install strut to coil spring and upper strut mount.
- Loosely install strut retaining nut.
- Hold strut shaft, using a T45 TORX® socket. Use strut rod nut socket tool No. J-42991, or equivalent to install upper strut mount nut. Torque strut mount nut to 63 ft. lbs.
- Remove strut from strut spring compressor tool No. J-45400, or equivalent.
- Install strut to vehicle.


STRUT ASSEMBLY, REPLACE
FRONT
- Remove wiper module.
- Remove upper strut mounting nuts.
- Raise and support vehicle, then remove tire and wheel assembly.
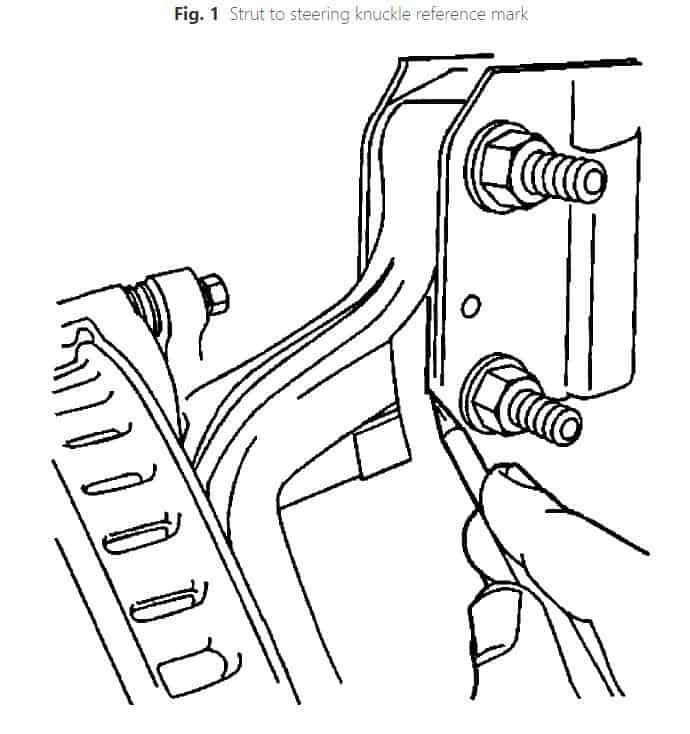
- Scribe a reference mark on steering knuckle and strut assembly for installation reference, Fig. 1.
- Remove strut lower mounting bolts and nuts.
- Remove strut from vehicle.
- Reverse procedure to install, noting the following:
a. Torquewheel lug nuts to 100 ft. lbs.
b. Torquestrut lower nuts at knuckle to 83 ft. lbs.
c. Torquestrut shaft nut to 63 ft. lbs.
d. Torquestrut upper nuts to 22 ft. lbs.