How to Replace Drum Brakes
Follow these pages if you know what kind of brake repair help you need.
- Disc Brakes
- Brake Rotors
- Brake Caliper
- Vacuum Booster
- Drum Brakes
- Wheel Cylinders
- ABS
- Master Cylinder
Replacing drum brakes - Step by step procedure:
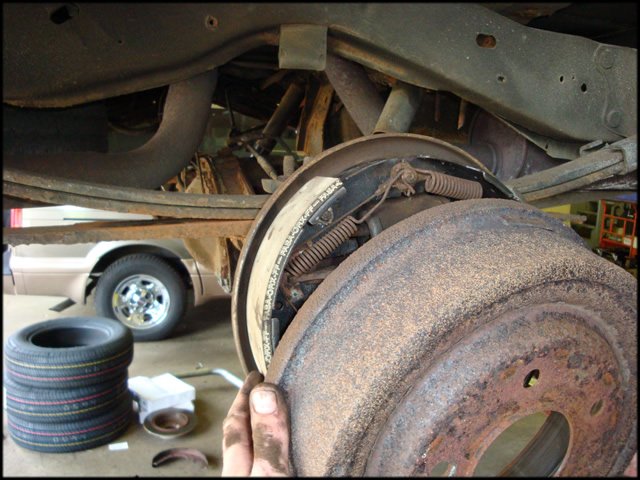
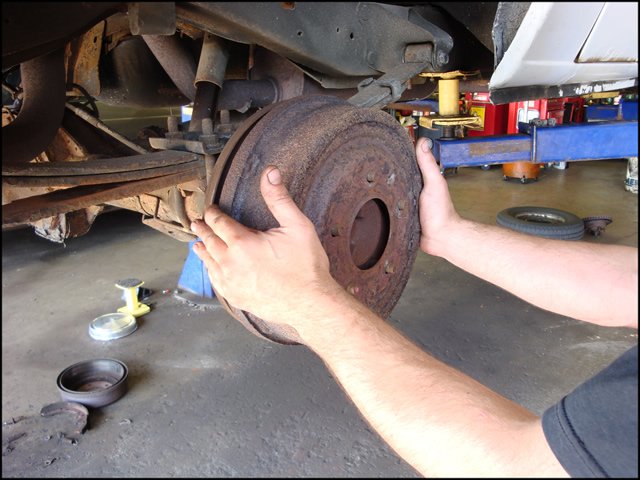
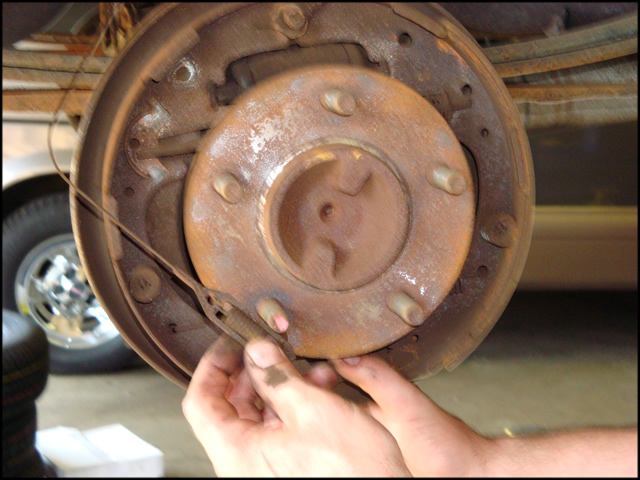
Step 1. You will need to jack up the car and remove the rear wheels to gain access to the rear brake components.Step 2. Remove the the brake drum from the vehicle.
Step 3. Once you have the drum removed, it is a good idea to clean the area of dust with compressed air or brake wash spray.

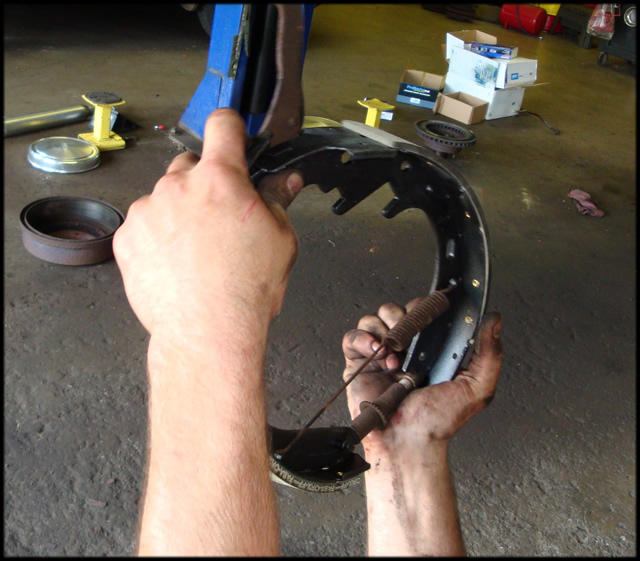
Step 4. Disconnect the Springs, removing the outer one first using the brake spring removal tool.

Step 5. Remove the two springs from the brake shoes..

Step 6. Lift up on the Auto-adjuster and disconnect the adjuster cable.
 >
>Step 7. Remove the Auto Adjuster Cable From the upper retainer and remove.
Step 8. Remove the two Spring Loaded Brake Shoe Retainers.

Step 9. Remove the Auto Adjuster Arm by sliding it forward and pulling outward. Remove the Spring and arm as one piece.

Step 10. Pull the shoes outward and forward from around the drive axle assembly.
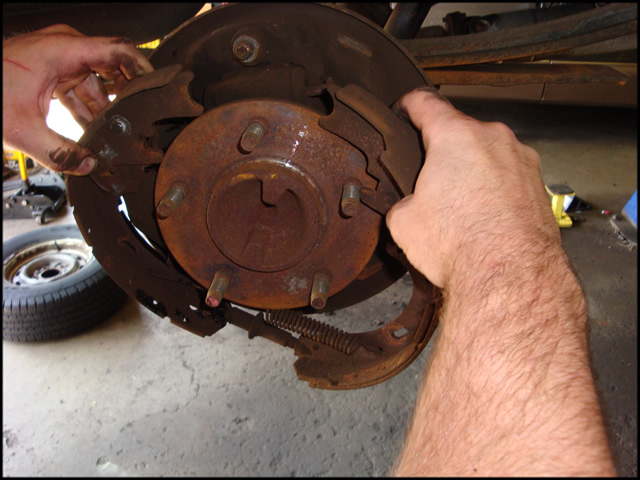
Step 11. Allow the shoes to collapse together so you can now remove the lower spring and adjuster with ease.

Step 12. You are now left with one shoe still attached to the Park Brake arm assembly by one lock ring.

Step 13. Use a flat screwdriver and twist to open the ring. Then pry up on one end and this will allow it to release and be removed.

Step 14. Use brake wash and clean the all surfaces.

Step 15. It is important to lubricate the 6 points that the shoes slide on to prevent any noise. Non-drying silicon brake lubricant works well for this.

Step 16. Once you see a steady stream of fluid tap a few times on the side of the caliper and then tighten the bleeder screw.

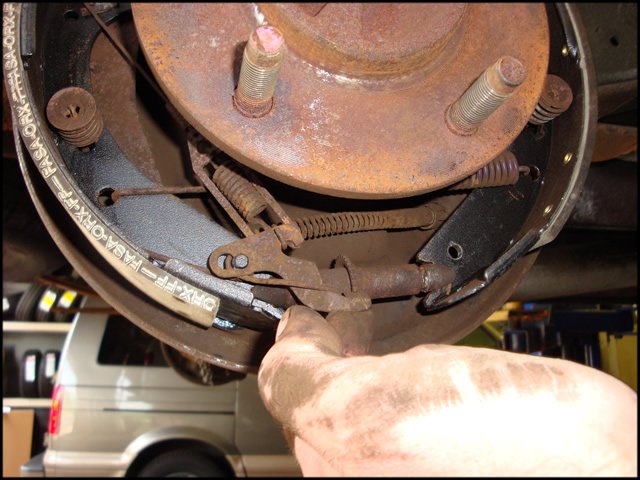
Step 17. Install the brake adjuster and lower spring. Pull apart and slide the assembly over the drive axle.
*NOTE* Make certain the adjuster is adjusted all the way down before installing.
Step 18. Install Spring Loaded Retainers to hold shoes in place so you can install the adjuster arm/spring and adjuster cable.

Step 19. Install the Brake Shoe Springs.

Step 20. Install the the adjuster arm and spring and attach cable.
Step 21. Install brake Drum