How to Replace a Hub Bearing
For Vehicle Specific Car Brake Repair Procedures, Troubleshooting charts and Technical Service Bulletins. You can gain full on-line access to the same software that the dealers use for just $19.95 that cover repair of your entire vehicle. You can see step by step procedures on replacing a Hub Bearing Assembly. Check it out.
- Disc Brakes
- Brake Rotors
- Brake Caliper
- Vacuum Booster
- Drum Brakes
- Wheel Cylinders
- ABS
- Master Cylinder
Step by Step Hub Bearing replacement procedure:
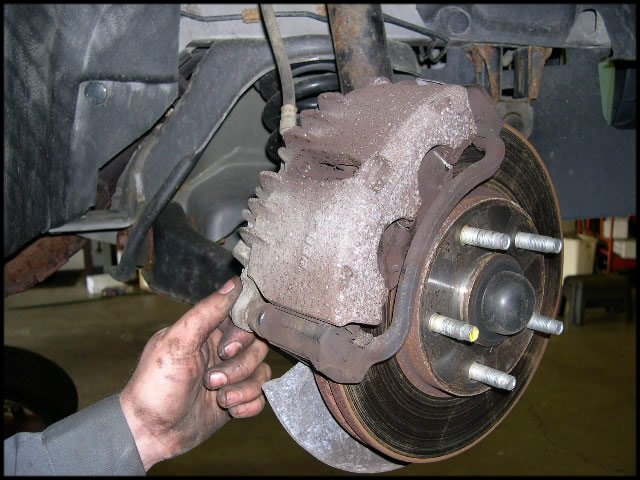
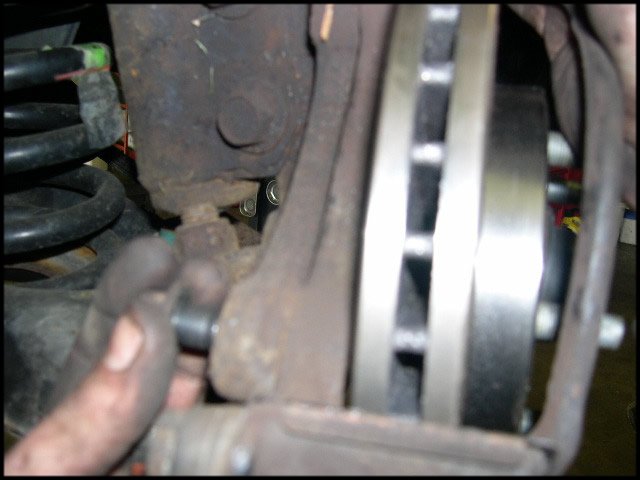
Step 1. You will need to jack up the car and remove the front wheels to gain access to the front brake components. Click on any image for a close up look.Step 2. Remove the two Brake Caliper bolts from top and bottom.
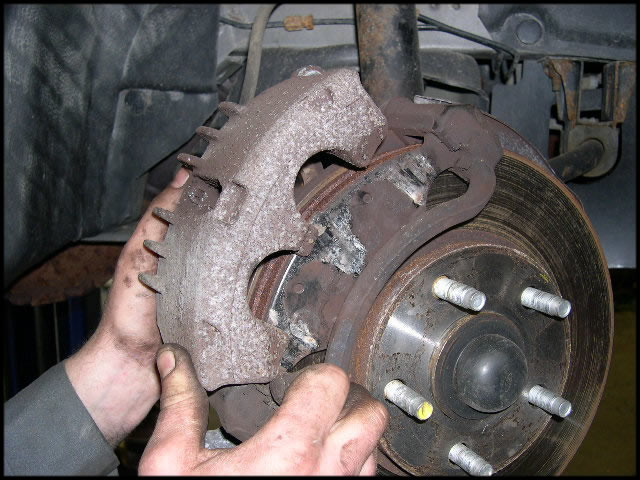
Step 3. Remove the Caliper. It may be necessary to use a screwdriver to pry the caliper loose allowing it to be removed easily.
Step 4. Remove the Front Brake Pads. They will slide off from each side.

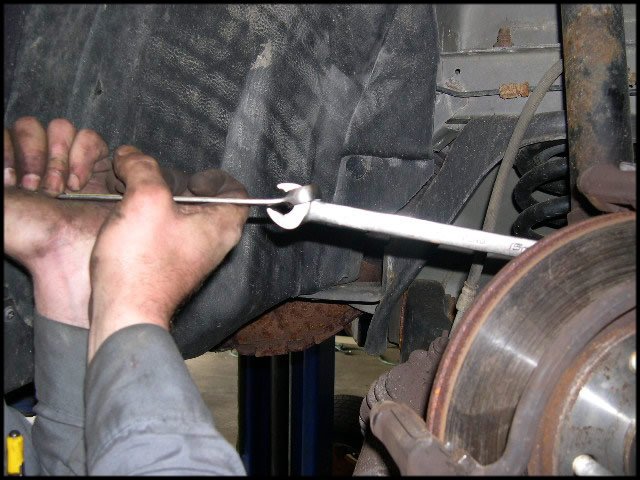
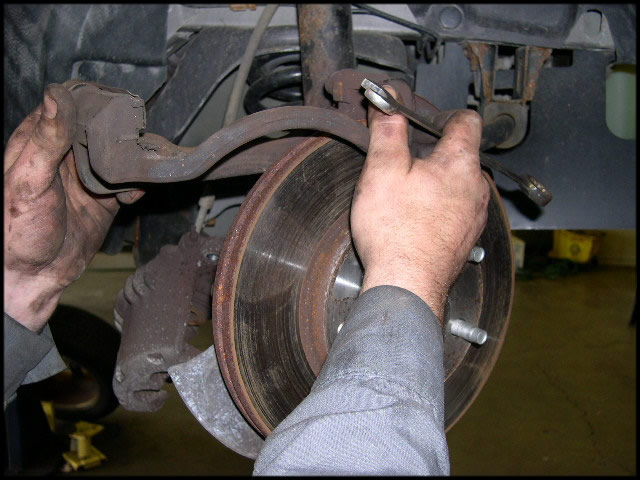
Step 5. Remove the two caliper mounting bracket bolts. You may need to use an extension to break these bolts free.
Step 6. Remove the Caliper Mounting Bracket.
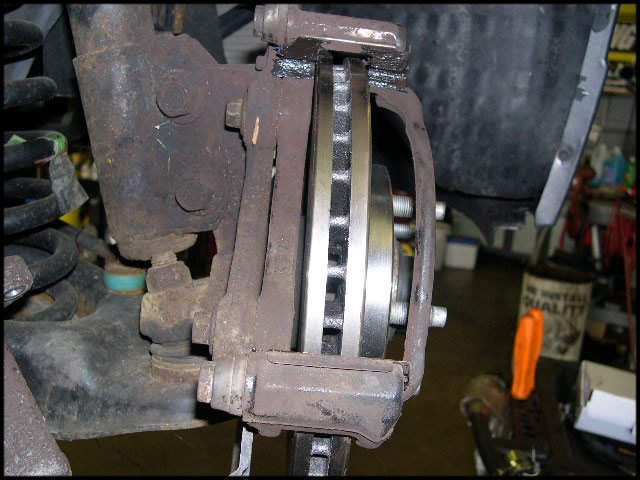
 >
>Step 7. Remove Front Brake Rotor. Should the rotor become stuck, you may need to use a Large Hammer to jar it loose.

Step 8. Remove the Center Hub Bearing Retaining Nut and the three retaining bolts from the back of the hub bearing.
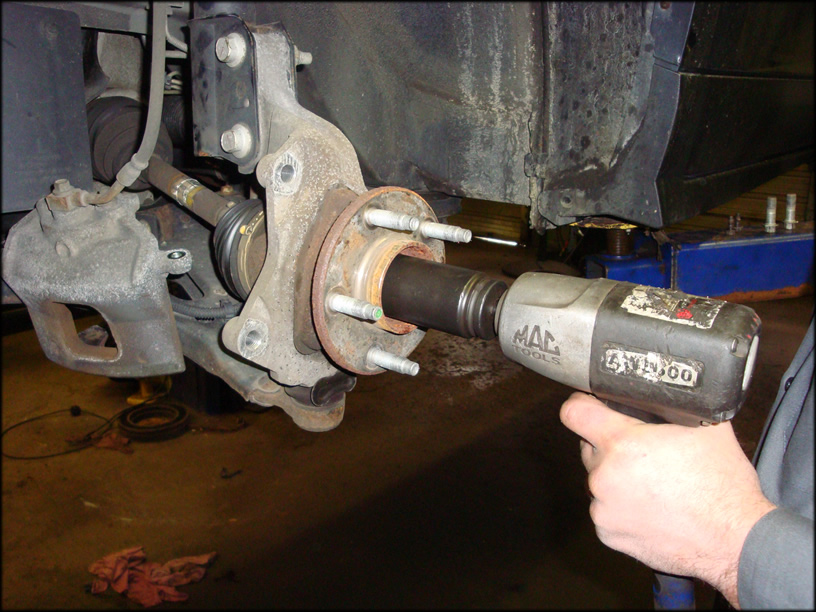
Step 9. Use an Air Hammer to loosen the axle shaft from the Hub Bearing assembly.

Step 10. Make sure to disconnect the ABS Sensor wire and then remove the hub bearing.

Step 11. Slide the new Hub bearing Assembly on and install the three retaining bolts from the rear and tighten. Make sure if there was a thin spacer that it is installed also.

Step 12. Install the center Nut, Tighten and reconnect the ABS wire connector if equipped.

Step 13. Install the New Rotor over the wheel studs.

Step 14. Install caliper mounting bracket using the two bolts you removed in Step 5.
Step 15. You may want to apply a small amount of "blue" LockTite to the bolts before tightening them.
Step 16. Apply a small amount of non-drying brake silicon to the back of the New brake pads. This will help reduce noise that is caused by vibration.
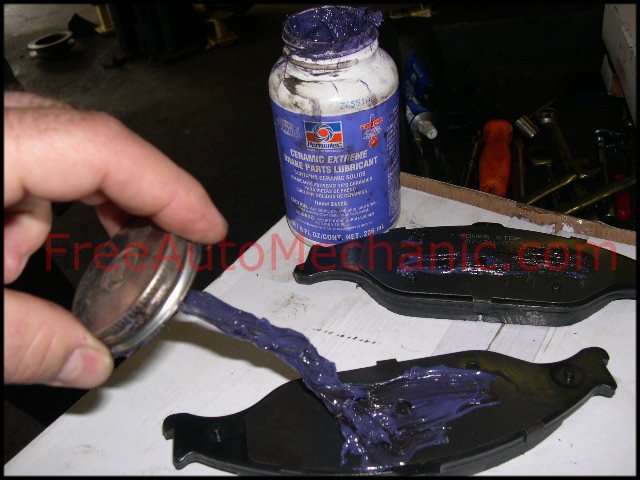
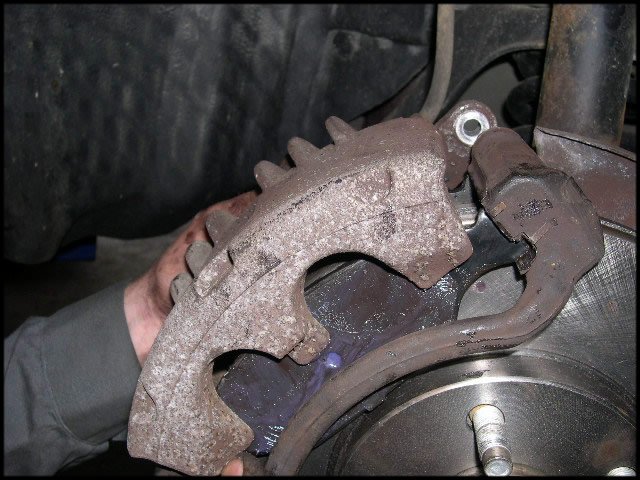
Step 17. Install the brake pads into the sides of the caliper mounting bracket. Be sure to wipe off any lubricant that might have gotten on the rotors.

Step 18. Compress the caliper pistons. Here we use a caliper compressor but a c-clamp or equivalent can also be used.

Step 19. Install the Caliper. Slide the caliper over the pads and align the caliper mounting holes and install the two bolts removed in Step 2.
Attach the wheels and pump the brake pedal before you test drive it!
GET AN ONLINE AUTO REPAIR MANUAL FOR YOUR CAR - Get on-line access to drive belt routing, repair instructions, wiring diagrams, trouble code diagnostic charts and updated factory bulletins.